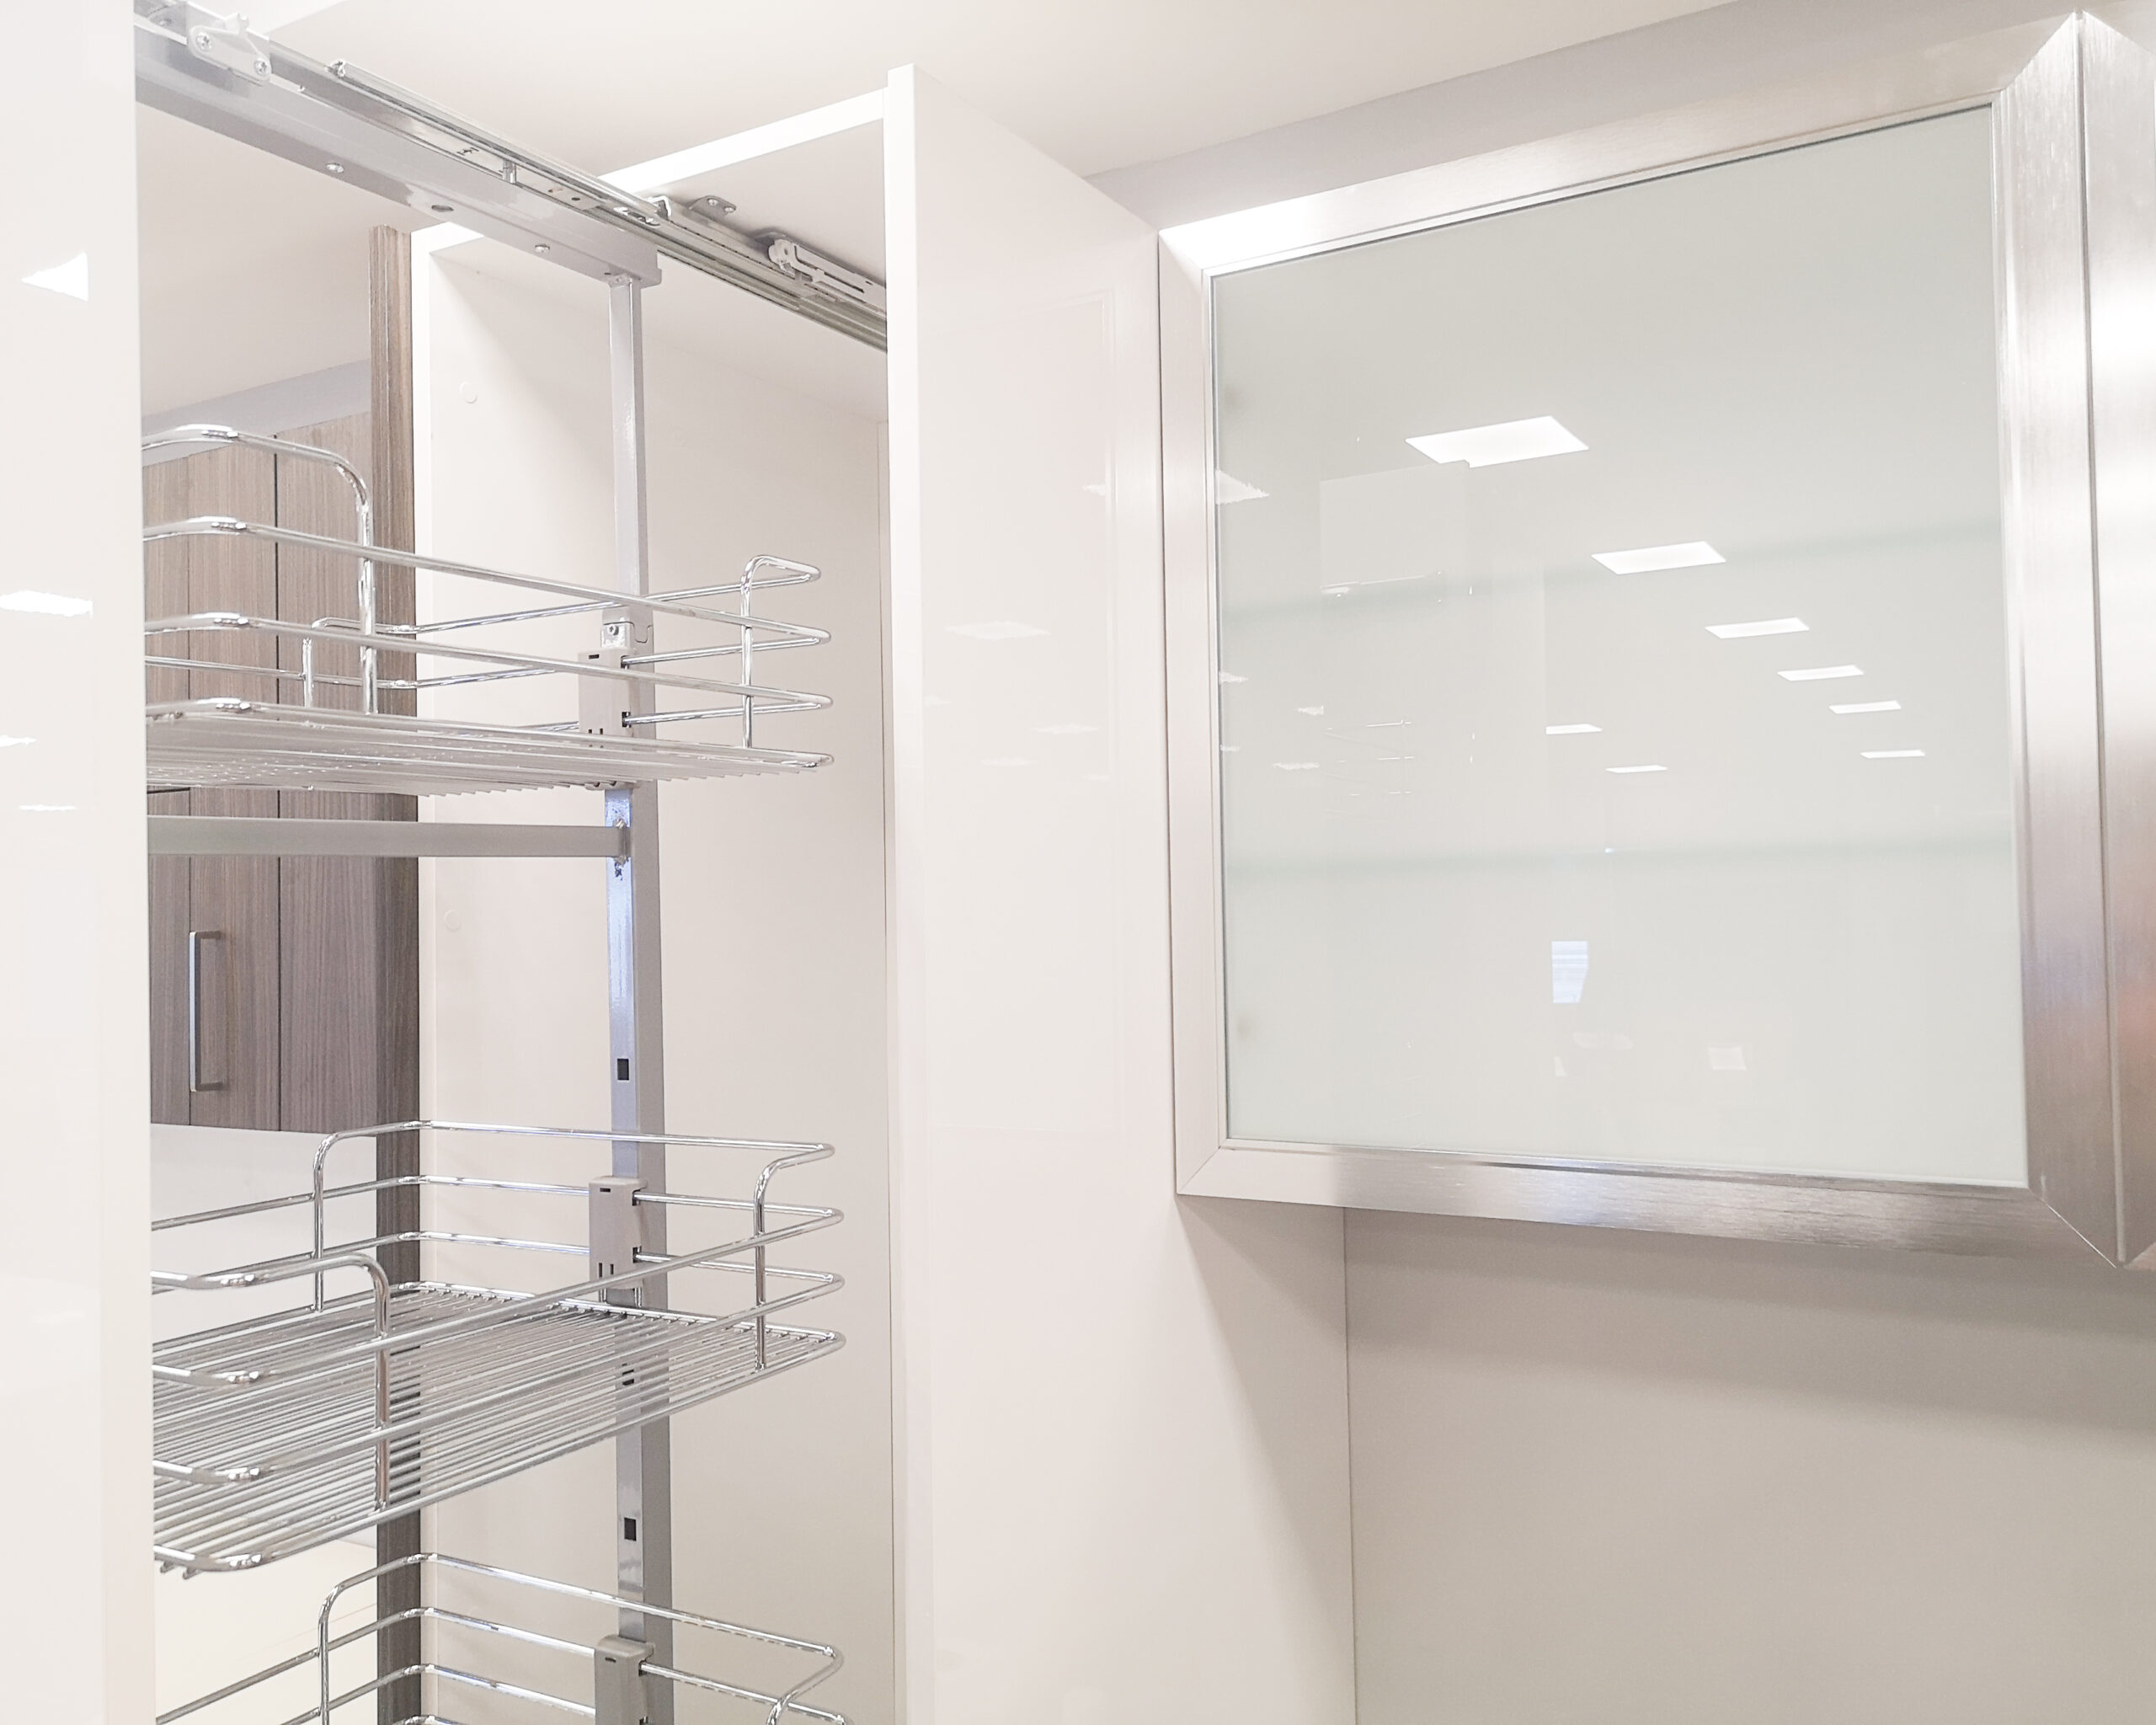
CABINET STYLES

Kyra Framed (Shaker)

A modern kitchen, with a vintage look.

You’ll fall in love with its timeless personality. Its shapes, materials and colours draw inspiration from post-industrial design. Available in finger rail system or handles, this gives you the chance to customise your kitchen as you like. See colours in this collection below or view gallery

Cabinet Colours In Kyra Framed

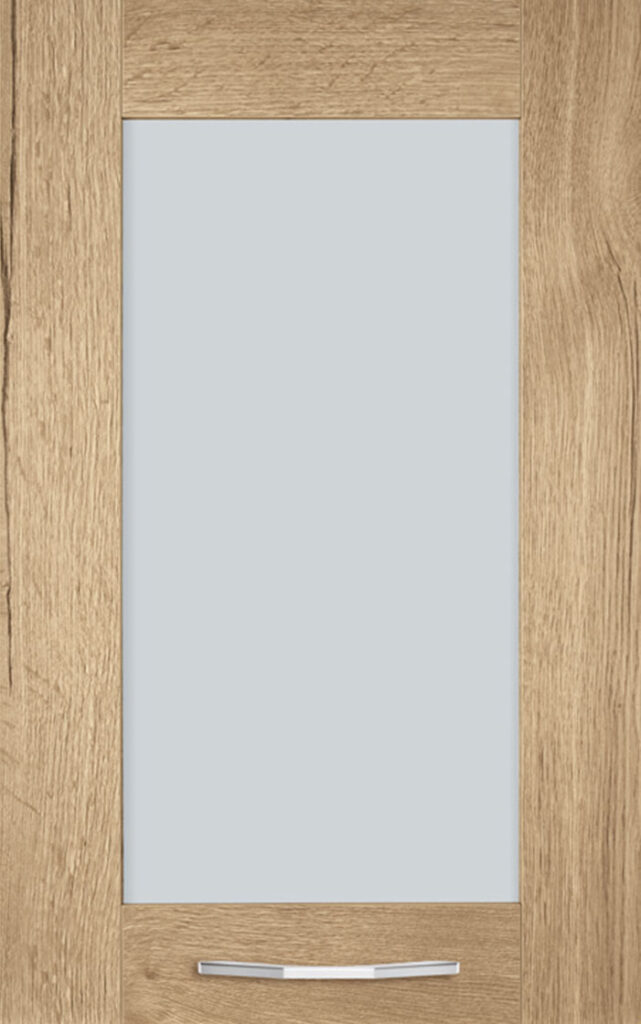
MATT FRAMED GLASS (WHITE OAK)
MATT FRAMED GLASS (NATURAL OAK)
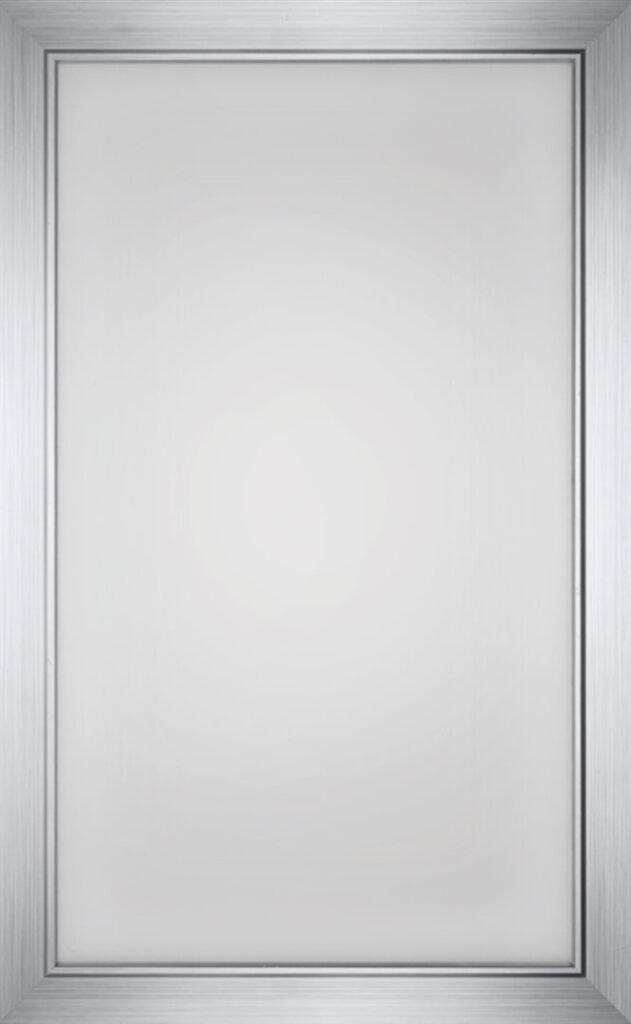
ALUMINUM FRAMED GLASS
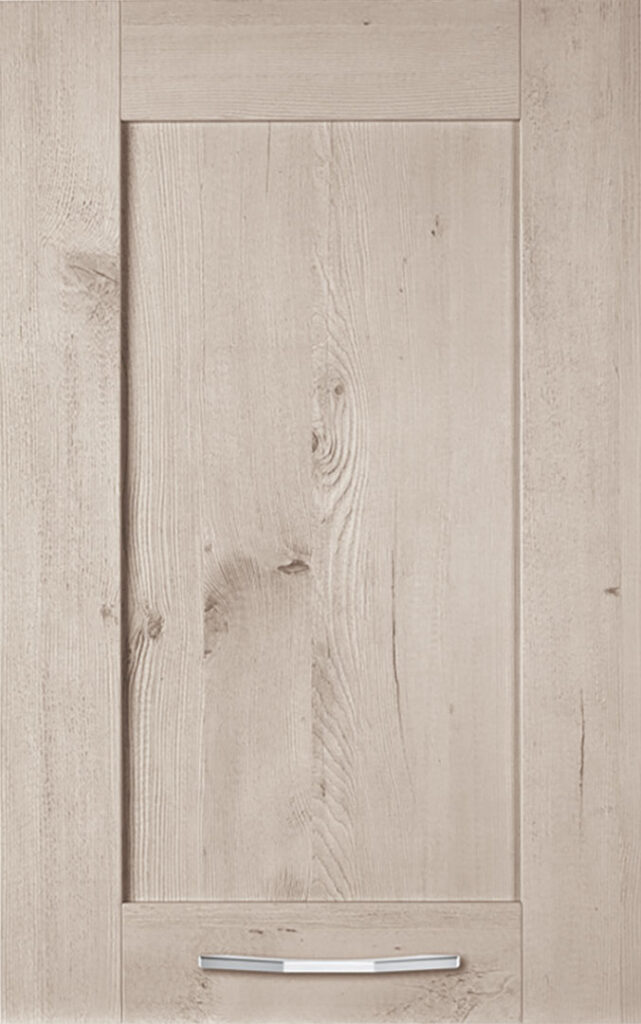
WHITE NORDIC FRAMED
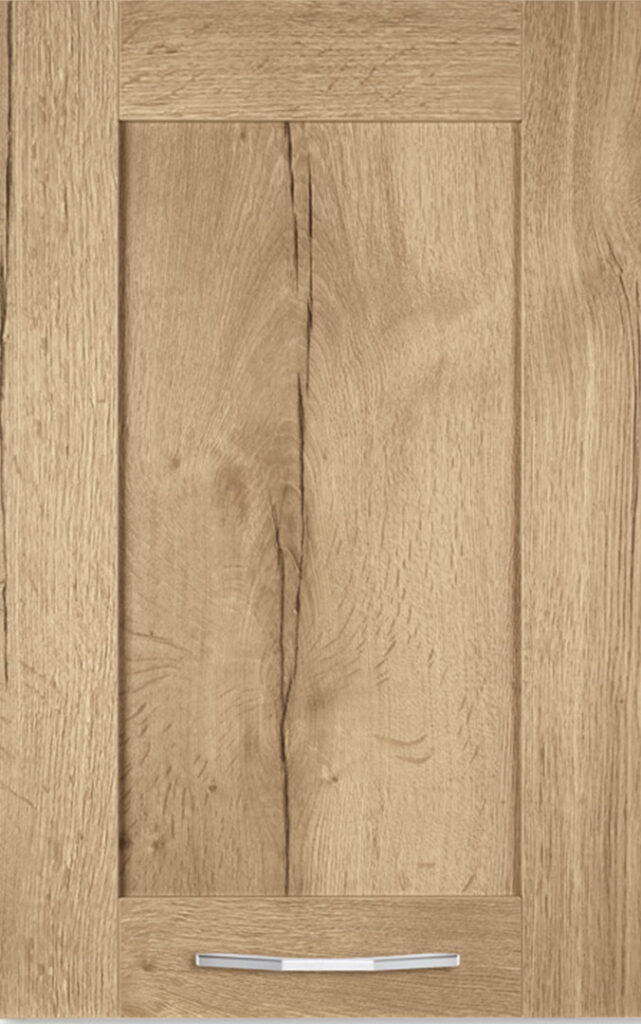
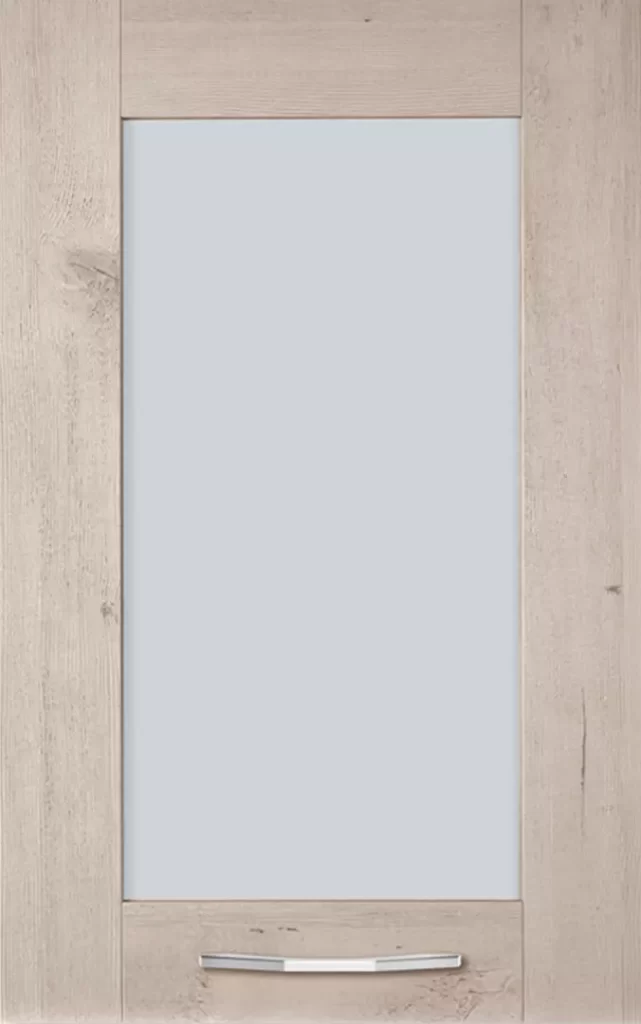
VINTAGE NATURAL OAK (FRAMED)

Tablet (Smooth Surface)

Elegant, minimalist,functional.

The kitchen with beautiful style and quality. The 100% Italian design dictates its character which is expressed through smooth sanded surfaces and beautiful, totally on-trend colours.See colours in this collection below or view gallery

Cabinet Colours In Tablet Collection

WHITE LAQUERED
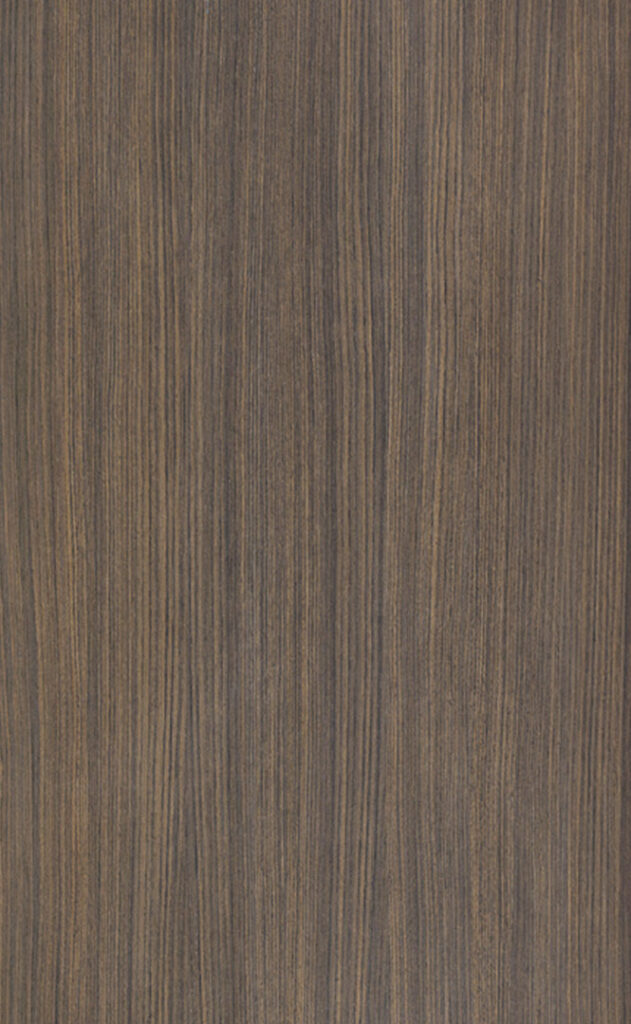
DARK OAK
MOON OAK
ALUMINUM FRAMED GLASS

ACCESSORIES

CERTIFICATIONS

Frequently Asked Questions

ABOUT RLVP FLOORING

In what rooms can I install my RLVP floor?

SPC Rigid Luxury Vinyl Plank flooring can be installed in any room inside the house or in commercial spaces where the floor is solid and flat, including full bathrooms, laundry rooms, office and conference spaces over 4000ft2 / 400m2 without any unsightly transitions in doorways and in between large areas. Special precautions should be used when installing in some areas, such as bathrooms with shower, by adding a silicone sealant in the expansion spaces at the perimeter and all vertical interruptions.

Can (SPC) RLVP be installed in Kitchens and Bathrooms?

(SPC) RLVP floors are 100% waterproof; however, special precautions should be used when installing in some areas such as kitchens, bathrooms with showers, adding a silicone sealant in the expansion spaces at the perimeter and all vertical interruptions. Water spillage as is the case in bathrooms and kitchens won’t damage the floor. In the case of a flood or standing water, we recommend that the flooring is promptly removed, sorted separately and placed in a dry environment. Please allow 48-72 hours to dry. Once both your subfloor and the (SPC) RLVP planks have dried completely you may reinstall.

General preparations before installation?

  1. Prior to installation, inspect material in daylight for visible faults/damage, including defects or discrepancies in color or shine; check the edges of the flooring for straightness and any damage. No claims on surface defects will be accepted after installation.
  2. Calculate the room surface prior to installation and plan an extra 5-10 % of flooring for cutting waste.
  3. Ensure that the subfloor is flat and level.
  4. Crawl space and/or room should be ventilated and dry.

Do I need to acclimate SPC RLP flooring before installation?

The environment where the flooring is to be installed is critically important with regard to successful installation and continued performance of the flooring products. The flooring is intended to be installed in interior locations only. These interior locations must meet climatic and structural requirements as well.

Flooring material must be acclimated to the installation area for at least 24 hours prior to installation. The room temperature must be maintained consistent between 70-80°F / 20-25°C and the relative humidity should be maintained between 30-65%. Flooring should only be installed in temperature-controlled environments. It is necessary to maintain a constant temperature of 70-80°F / 20-25°C and the relative humidity should be maintained between 30-65% before and during the installation.

After installation, make sure that the flooring is not be exposed to temperatures less than 50°F / 10°C or greater than 120°F / 50°C, the relative humidity should be maintained between 30-65%. For floor surfaces exceeding 4356 sq. ft. / 400 m2 and/or lengths exceeding 66 lineal ft. / 20 m, use expansion moldings.

What subfloor information you need to know for installing SPC RLVP?

FIRMFIT flooring can be installed over most existing hard surface floor coverings, provided that the existing floor surface is clean, flat, dry, securely fastened, structurally sound and level to 5 mm within a 3 meters.

  1. The substrate should not slope more than 25 mm per 2 meters in any direction.
  2. Depressions, deep grooves, expansion joints and other subfloor imperfections must be filled with patching & levelling compound.
  3. Substrates must be free from excessive moisture or alkali. Remove dirt, paint, varnish, wax, oils, solvents, any foreign matter and contaminates.
  4. Do not use products containing petroleum, solvents or citrus oils to prepare substrates as they can cause staining and expansion of the new flooring.
  5. Although this floor is waterproof, it is not aimed to be used as a moisture barrier. The concrete moisture vapor emissions should not exceed 8 lbs. (3.63 kgs.) (ASTM F1869) / 90 % RH (ASTM F2170) with a PH limit of 9 / max. 2.5 % moisture content (CM method).
  6. This product is also not to be installed in areas that have a risk of flooding such as saunas or outdoor areas.

WOOD SUBFLOORS

  1. If this flooring is intended to be installed over an existing wooden floor, it is recommended to repair any loose boards or squeaks before you begin the installation.
  2. Nail or screw every 15 cm along joists to avoid squeaking.
  3. Basements and crawl spaces must be dry. Use of a 0.15 mm poly-film is required to cover 100 % of the crawl space earth.
  4. We recommend laying the flooring crossways to the existing floorboards.
  5. All other subfloors – Plywood, OSB, particleboard, chipboard, wafer board, etc. must be structurally sound and must be installed following their manufacturer’s recommendations.

CONCRETE SUBFLOORS

  1. Floors must be fully cured, at least 60 days old, smooth, permanently dry, clean, and free of all foreign material such as dust, wax, solvents, paint, grease, oils, and old adhesive residue. Curing agents and hardeners could cause bonding failure and should not be used.
  2. We recommend using a minimum 0.15 mm poly-film as a moisture barrier between the concrete subfloor and the flooring.

DO NOT INSTALL OVER

  1. Any type of carpet.
  2. Existing cushion-backed vinyl flooring.
  3. Floating floor of any type, loose lay, and perimeter fastened sheet vinyl.
  4. Hardwood flooring / wood subfloors that lay directly on concrete or over dimensional lumber or plywood used over concrete.

How do I determine the direction in which to install my SPC RLVP flooring?

It is preferable to lay boards perpendicular to the window, following the direction of the main source of light. For the best result, make sure to always work from 3 to 4 cartons at a time, mixing the planks during the installation.

What is the recommended expansion space for SPC RLVP floors?

SPC RLVP floors by FIRMFIT™, thanks to its very high limestone content, is not only rigid but extremely stable. If certain areas reach such high temperatures (which they rarely do) SPC RLVP can naturally expand a little, but will push each other and expand well within our recommended expansion gap of 1/4″ (6mm). This is why the recommended 1/4″ (6mm) around the perimeters of the room needs to be respected. Do not install your kitchen cabinets or any fixed objects directly over your floor. The floor’s quality can be guaranteed as long as the floor can move freely.

How large is the area that SPC RLVP can be installed over before having to use transition strips?

SPC RLVP installation allows up to 66 ft (20m), in either direction, with no unsightly transition moldings needed as long as the flooring can freely move. That’s 4305 ft2 (400m2). Make sure to respect the 1/4″ (6mm) expansion space around the perimeters of the room.

Do I need an underlay for SPC RLVP flooring?

Some SPC RLVP come with a pre-attached EVA backing that is 100% waterproof for extra comfort and sound absorption. An underlay is ONLY used for SPC RLVP without the EVA backing which is purchased with the flooring before installation.

UNDERLAY: If the floor does not have a pre-attached underlayment, an additional underlayment is recommended in order to improve acoustic performance and absorb some irregularities on the substrate. Best results can be expected with an underlayment of 1mm to max 1.5mm thickness with a high density (>180kg/m3) and high compressive strength (>200kPa) that supports the click system during daily use. Underlayment with a low density and an inadequate compressive strength could damage the locking mechanism and will void warranty.

If the floor has a pre-attached underlayment, the use of an additional underlayment could damage the locking mechanism and will void warranty.

RECOMMENDED MAINTENANCE

ALL FLOORING: To protect from scratches, place walk-off area rugs or mats inside exterior doorways to collect small bits of sand and grit. We recommend using felt protectors on the legs of furniture and replacing plastic or metal casters with rubber wheels and also lift rather than slide heavy objects across the floor.

Clean the floor regularly. For general cleaning, use a dust mop or vacuum with the correct hard surface attachment – never a rotating brush, floor scrubbers, jet mops, buffers or similar products. Floors must never be waxed, polished, sanded or refinished when cleaning. Do not use detergents, abrasive cleaners, soaps, waxes or polishes and absolutely no bleach.

Our Recommended Cleaning for SPC RLVP Flooring

  • Clean your floor regularly. Clean up spills and excessive liquids immediately.
  • Start by removing all dirt and dust using soft bristle attachments or a vacuum cleaner with the correct hard surface attachment – never a rotating brush, floor scrubbers, jet mops, buffers or similar products.
  • Spray and mop (micro fibre mop) with pH neutral cleaner as needed. Do not use aggressive cleaning products, soap, abrasive cleaners or cleaning agents that contain polish, wax or oil. We also recommend using a well-rung wet mop or a cloth.
  • The use of residential steam mops on this product is allowed. Use at lowest power with a suitable soft pad, and do not hold a steam mop on one spot for an extended period of time (longer than 5 minutes). Refer to the steam mop’s manufacturer instructions for proper usage.
  • After washing allow your floor the time to dry.

Our Recommended Stain Removal for SPC RLVP Flooring

  • Remove stains as soon as possible, with a well-wrung, slightly damp cloth. Worn-in stains are difficult to remove.
  • For chocolate, grease, juice and wine stains, use lukewarm water and a non-abrasive cleaner.
  • Nail polish, tar, markers, crayon, lipstick, ink and cigarette burns can be removed using nail polish remover or denatured alcohol.
  • For candle wax and chewing gum, scrape carefully with a blunt plastic scraper.
  • Pet stains (including urine, feces and vomit from domestic cats or dogs) need to be cleaned within 24 hours.

How can I protect my SPC RLVP flooring?

  • All spills should be cleaned up immediately. CAUTION: Planks are slippery when wet.
  • Place a walk-off mat at outside entrances to reduce the amount of dirt brought into your home. Do not use mats with a latex or rubber backing since these backings can cause permanent discoloration.
  • Do not allow cigarettes, matches or other very hot items to get in contact with the floor as this may cause permanent damage.
  • Do not drag or slide heavy objects across the floor. When moving appliances or heavy furniture it is always wise to lay a plywood panel, or similar, on your floor and “walk” the item across it. This protects your floor from scuffing, gouging and tears.
  • Apply appropriate protection to the legs of the furniture. Do not use colored floor protectors.
  • Apply freely rotating, non-rubber wheels to chairs with castors and/or use protective matting. Use proper floor protection devices such as felt protectors under furniture.
  • Do not use abrasive cleaners, bleach or wax to maintain the floor.

REPLACEMENT & REPAIR

To repair scratches, small chips and dents color fill kits, wood finish repair sticks or putties are easy to use. If significant plank damage, an option may be to replace a plank. Plank replacements can be challenging to the average do-it-yourselfer, we recommend you contact your representative from CW Interiors or a flooring professional who has the proper tools and training for plank replacements.